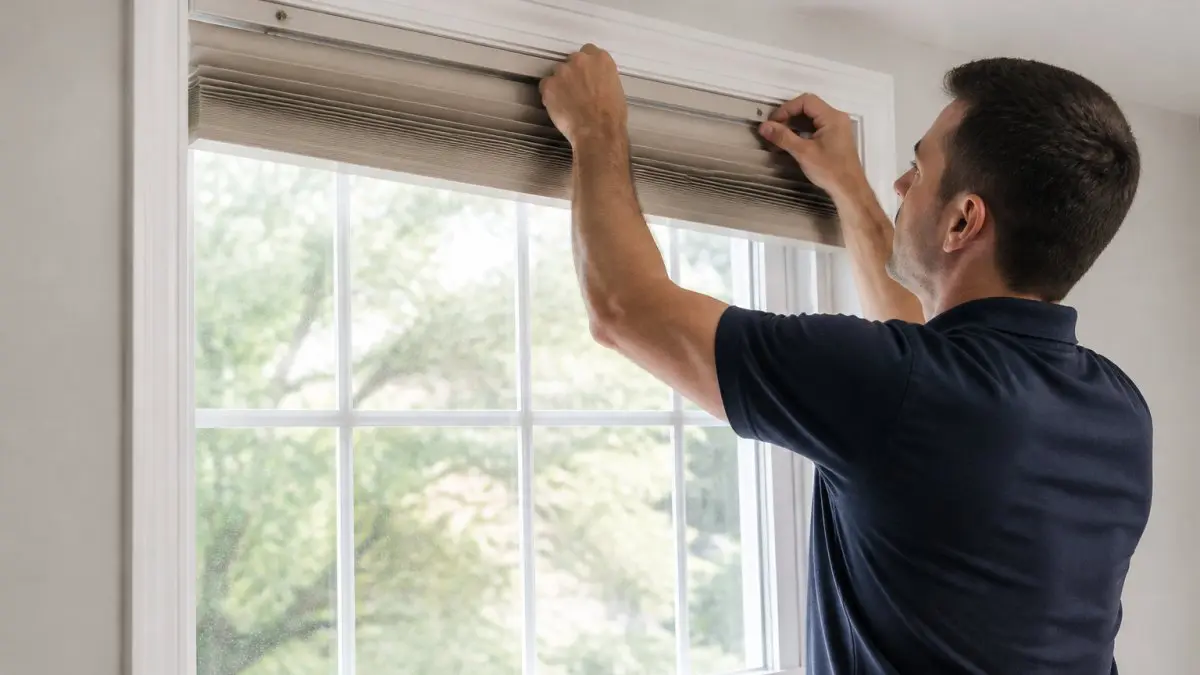
Professional Window Treatment Installation Process
Table of Contents
- What the Professional Window Treatment Installation Process Includes
- How to Prepare Windows for Blind Installation
- Window Treatment Measuring and Installation: Getting the Dimensions Right
- Tools, Hardware, and Brackets Used During Installation
- Step-by-Step: How the Installation Process Works
- Motorized Window Treatment Installation: What Changes
- Professional Blind Installation Time: What to Expect
- Common Mistakes and Troubleshooting During Installation
- Frequently Asked Questions
Last Updated: October 12, 2026
What the Professional Window Treatment Installation Process Includes
Professional window treatment installation is the full service of measuring, fabricating, and fitting blinds, shades, shutters, or drapery so they sit level, operate smoothly, and cover the window as intended.
This guide from Carroll Shade walks through every stage of that process.
The biggest myth is that installation is just drilling a few brackets. It is not. Most failures trace back to bad measurements or the wrong mount type, not bad hardware.
Here is what the full process covers:
- A consultation to review light control, privacy, and style
- Professional measurement of every window
- Custom sizing and fabrication
Get any one of these wrong and the treatment will not fit right.
The measurement and mount decision drive everything else. Get those two right and installation becomes routine. Get them wrong and no amount of hardware fixes it.
How to Prepare Windows for Blind Installation
Preparing windows before blind installation means inspecting the frame, clearing the sill, and protecting nearby surfaces. Good prep takes about 15 to 20 minutes per window and prevents most damage and fit problems.
Inspecting the Window Frame and Surrounding Wall
Check the window frame condition before anything else. Look for cracks, soft wood, peeling paint, or warping. A weak frame will not hold fasteners well.
Also check the surrounding wall. Drywall needs anchors. Wood studs hold screws directly. Uneven surfaces are common in older homes, so note any spots where the frame sits out of square.
- Tap the frame to check for soft or hollow spots
- Look for moisture stains or rot near the sill
- Test whether the frame is square with a level
Clearing the Space and Protecting Surfaces
Move furniture and rugs away from the window. Cover the sill and floor with drop cloths. Remove existing treatments, cords, and old brackets.
Then gather your tools in one spot so you are not climbing down a ladder every few minutes. A little setup now saves a lot of frustration later.
Photograph the window and frame before you start. If a bracket ends up in the wrong spot, the photo shows you exactly where the original holes were so you can patch cleanly.
Window Treatment Measuring and Installation: Getting the Dimensions Right
Window treatment measuring and installation starts with three numbers per window: width, height, and depth. Measure width at the top, middle, and bottom, then use the smallest figure. Do the same for height on the left, center, and right.
Custom sizing depends on these numbers being exact. A fraction off and the treatment will not sit level or will leave gaps.
Inside Mount vs. Outside Mount: Which Fits Your Window
Inside mount fits the treatment within the window frame. It looks clean and shows off the trim. It needs at least 2 inches of depth for most products.
Outside mount attaches to the wall or trim above the window. It suits shallow frames and hides uneven trim. It also blocks more light.
| Mount Type | Best For | Depth Needed | Light Control |
|---|---|---|---|
| Inside mount | Deep, square frames | 2+ inches | Moderate |
| Outside mount | Shallow or uneven frames | None | Strong |
If you are unsure, a professional measurement removes the guesswork.
Tools, Hardware, and Brackets Used During Installation
Standard installation hardware includes mounting brackets, screws, wall anchors, and sometimes shims. The bracket type changes with the product and the mounting surface.
A basic tool kit covers most jobs:
- Drill with the correct bit size
- Level, at least 24 inches
- Measuring tape
Fasteners matter as much as the bracket. Wood studs take screws directly. Drywall needs anchors rated for the weight.
Using the wrong fastener is one of the most common reasons a treatment sags or pulls loose within months.
Step-by-Step: How the Installation Process Works
The window treatment installation process follows a fixed sequence: mark, drill, mount, fit, and test. Skipping the marking step is the fastest way to end up with crooked brackets.
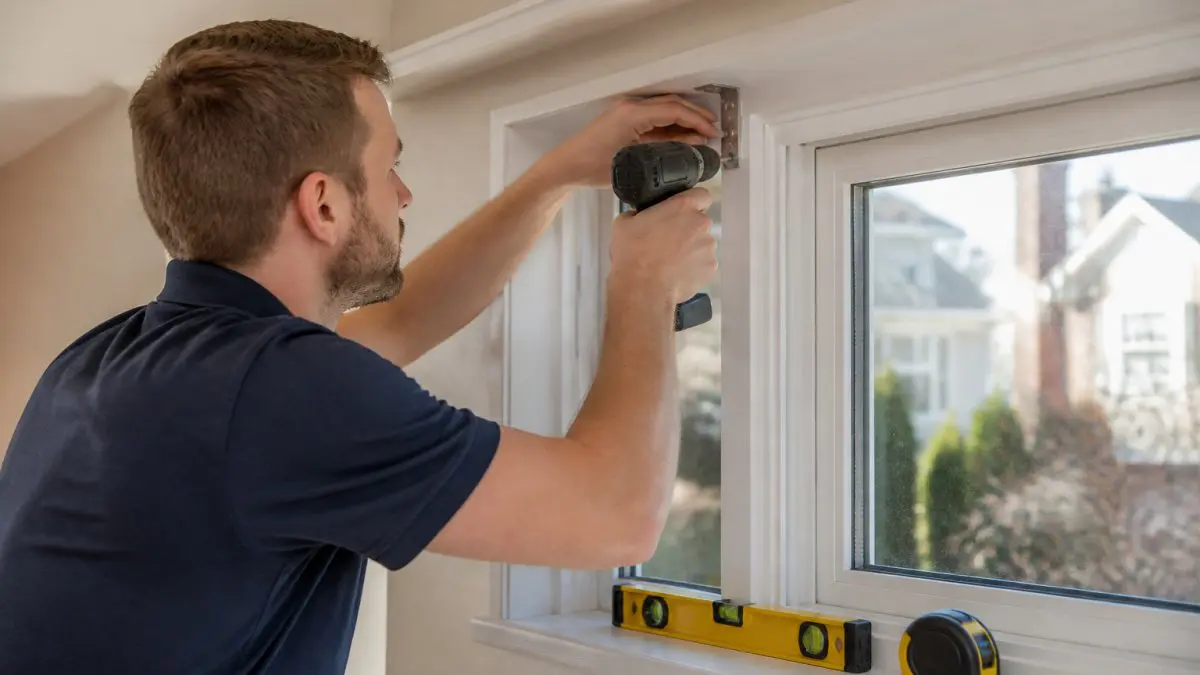
Mounting Brackets and Securing Fasteners
Mark bracket positions with a pencil and check them with a level before drilling. For an outside mount, measure up from the window opening so both brackets sit at the same height.
Drill pilot holes at each mark. Then drive the fasteners through the bracket into the stud or anchor. Do not fully tighten the first bracket until you have checked the second one for level.
Fitting, Aligning, and Testing the Treatment
Lift the treatment onto the brackets and click or slide it into place. Check that it sits level and clears the frame on both sides.
Then test operation. Raise and lower shades, tilt blinds, or swing shutters through a full cycle. Adjust the brackets or cords until movement is smooth. A treatment that binds now will only get worse.
Do not force a treatment into place. If it will not seat, the brackets are misaligned. Forcing it can bend the headrail or crack the frame, and that is a repair, not an adjustment.
Motorized Window Treatment Installation: What Changes
Motorized window treatment installation adds a power source and a setup step. The mounting itself is similar, but you also need to plan for power and pairing.
Hardwired options need an electrician to run a line. Battery-powered options avoid that but need charging access.
Setup after mounting includes:
- Pairing the remote or app
- Setting open and close limits
- Linking to a smart home system if desired
Plan the power source before the brackets go up. Retrofitting a power line after mounting means patching and repainting.
Professional Blind Installation Time: What to Expect
Professional blind installation time is only one slice of the project clock. The full timeline runs from the first consultation through fabrication and a final walkthrough, and most of the elapsed time is not spent on a ladder. Understanding the whole sequence is what lets you plan around work, travel, and furniture moving.
Here is the end-to-end sequence most professional installers follow, with typical time ranges.
| Stage | What Happens | Typical Time |
|---|---|---|
| In-home consultation | Review light control, privacy, style, and window conditions | 30-60 min |
| Professional measurement | Width, height, and depth at every window; mount decision | 30-45 min for a full home |
| Quote and product selection | Firm pricing, fabric and finish choices, order placement | Same day to a few days |
| Fabrication | Custom sizing and build at the manufacturer | 1-3 weeks for most custom products |
| Pre-install prep | Confirm hardware, access, and any electrical work | 1-2 days before install |
| Installation day | Bracket mounting, fitting, leveling, testing | 15-30 min per standard window |
| Final walkthrough | Operation demo, adjustments, care instructions | 15-30 min |
Why Fabrication, Not Installation, Drives the Calendar
Installation day is fast because the slow work happened earlier. Custom blinds, shades, and shutters are cut and assembled to the measurements taken at the consultation, so the lead time between order and delivery is usually the longest single block in the project.
A common pattern is a two-to-four-week window from signed quote to installed treatment for a typical whole-home order, with the install itself compressed into a single visit.
What Makes Installation Day Run Long
- Window count. A single room is often done in under an hour; a whole home can run a half to full day.
- Product type. Shutters and heavy drapery take longer than standard blinds or shades.
- Motorized units. Pairing, limit setting, and smart-home linking add time per window, often 45 minutes or more each.
What You Can Do Before Install Day
Clear furniture and rugs from each window, remove existing treatments if the installer is not handling that, and confirm parking or entry access. Have a plan for pets and for anyone working from home. These small steps are what keep a whole-home install inside a single day.
The measurement visit is what makes install day fast. The fabrication lead time is what makes the project feel long. Plan around both, not just the time on the ladder.
Common Mistakes and Troubleshooting During Installation
Most installation problems come from a short list of avoidable errors, but the fix depends on what actually failed. A post-install quality-control pass catches issues while the installer is still on site, when adjustments are free rather than a return visit.
The Quality-Control Checklist
Run these checks before the installer packs up:
- Levelness. Check the headrail and the bottom rail with a level, not just the brackets. A level bracket can still hold a crooked treatment if the rail is bent or the mount is uneven.
- Bracket security. Push up gently on each bracket. Any flex means the fastener is not biting into a stud or a properly rated anchor.
- Smooth operation. Raise and lower shades, tilt blinds, and swing shutters through a full cycle. Binding, catching, or a grinding sound means the headrail or cords are misaligned.
Common Failures and How Installers Fix Them
- Crooked treatment. Loosen the brackets, re-level, and refasten. Do not try to bend the headrail to compensate.
- Sagging bracket. Remove the fastener and re-anchor into a stud or a heavier-duty anchor. Reusing the same hole rarely holds.
- Binding operation. Check cord routing and headrail alignment. On motorized units, reset the travel limits.
When the Window Itself Is the Problem
What most guides miss is that the window frame condition matters as much as the numbers. A warped frame throws off even a perfect measurement.
- Uneven or out-of-square frames. Shims behind the brackets bring the mount back to level. Severe cases may call for an outside mount that bypasses the frame entirely.
- Damaged drywall or soft wood. A weak surface will not hold fasteners. Installers move the bracket to solid material or add blocking behind the wall.
- Obstructions. Crank handles, window locks, and deep trim can block an inside mount. The fix is usually a different mount type or a shallower product.
The One Check Homeowners Skip
Test the treatment the way you will actually use it. Open and close it fully, in the position you will reach it from, at the time of day you will use it. A treatment that works from a step ladder but not from the floor is not finished.
Frequently Asked Questions
How long does a professional blind installation take?
Most standard windows take 15 to 30 minutes each to install once brackets are mounted. A whole-home project with 10 to 15 windows typically runs three to five hours. Motorized window treatment installation adds time for wiring or programming, usually 30 to 45 minutes per unit. Arched or antique windows with uneven surfaces may take longer because brackets need custom fitting. Your installer can give a realistic timeline after the consultation.
Do professional installers measure windows before installing treatments?
Yes. Professional measurement happens before fabrication, not on installation day. An installer or design consultant visits to record window dimensions, check the window frame condition, and confirm whether an inside mount or outside mount suits the space. Custom sizing at this stage is what produces a perfect fit and avoids gaps that leak light. Measuring and installation are two separate appointments, with fabrication in between.
How should I prepare my windows for blind installation?
Clear furniture and decor away from the windows, remove old treatments and their hardware, and take down curtains or valances. Wipe the window frame and surrounding wall so brackets sit flush. Confirm the installer can reach each window, especially high or hard-to-reach ones. If you have pets or children, keep them clear of the work area. Most preparation takes 15 to 20 minutes per room and helps the installation appointment run on schedule.
Can blinds, shades, and shutters be installed on different types of windows?
Yes, but the mounting approach changes by product and window type. Shutters need a square, solid frame and often a custom frame kit for antique or arched windows. Roller and cellular shades work well with inside mount on standard double-hung windows. Drapery and outside-mount shades suit windows where the frame is too shallow or uneven. A professional measurement and consultation confirms which option fits your window dimensions and mounting surface.
Old windows, uneven frames, and hard-to-reach panes are where DIY installation tends to fall apart. Carroll Shade has handled those exact problems for homeowners in the Boston and Brookline area since 1932. As an authorized Hunter Douglas partner, we offer professional measurement, custom fabrication, motorized options, and repair service, all backed by a fit guarantee. Contact Us to schedule your consultation and get a treatment that fits right the first time.
